Stop Sandwich Bots: Slippage Cap Settings for Multi Account Traders

Set your slippage cap to your expected price impact plus a small safety pad, then match it to the scenario in front of you: a small fraction of a percent for stablecoin swaps, wider for anything thin or volatile. Skip the guesswork and the platform default. A cap that’s too tight fails constantly; one that’s too loose invites a worse fill or a sandwich bot picking your pocket.
TL;DR:
- Use a slippage cap set to your expected price impact plus a small safety pad, adjusting for market volatility and pool liquidity, especially for volatile tokens.
- Avoid wide caps resulting from failed smaller settings, as they increase exposure to sandwich bots and MEV attacks, particularly when trading with larger sizes or tokens with transfer taxes.
- Manually check pool depth, displayed price impact, and auto slippage settings before each trade, especially for large orders or multi-account batches, to prevent cascading failures.
- Implement order-slicing, limit orders, or MEV-protected routing to reduce actual slippage and protect against bot manipulation during trading.
- Using a trade copier with per-account slippage controls helps maintain discipline across multiple accounts during fast markets, preventing unintentional profit leakage.
Table of Contents
- What Slippage Cap Settings Actually Control
- What Slippage Percentage Should You Actually Use?
- How Do You Set Slippage Tolerance on an Exchange?
- Order Slicing, Limit Orders, and MEV: The Advanced Toolkit
- Your Pre-Trade Slippage Checklist
- What Prop Traders Get Wrong About Slippage Caps
- Managing Slippage Caps Across Multiple Trading Accounts
- Sources
What Slippage Cap Settings Actually Control
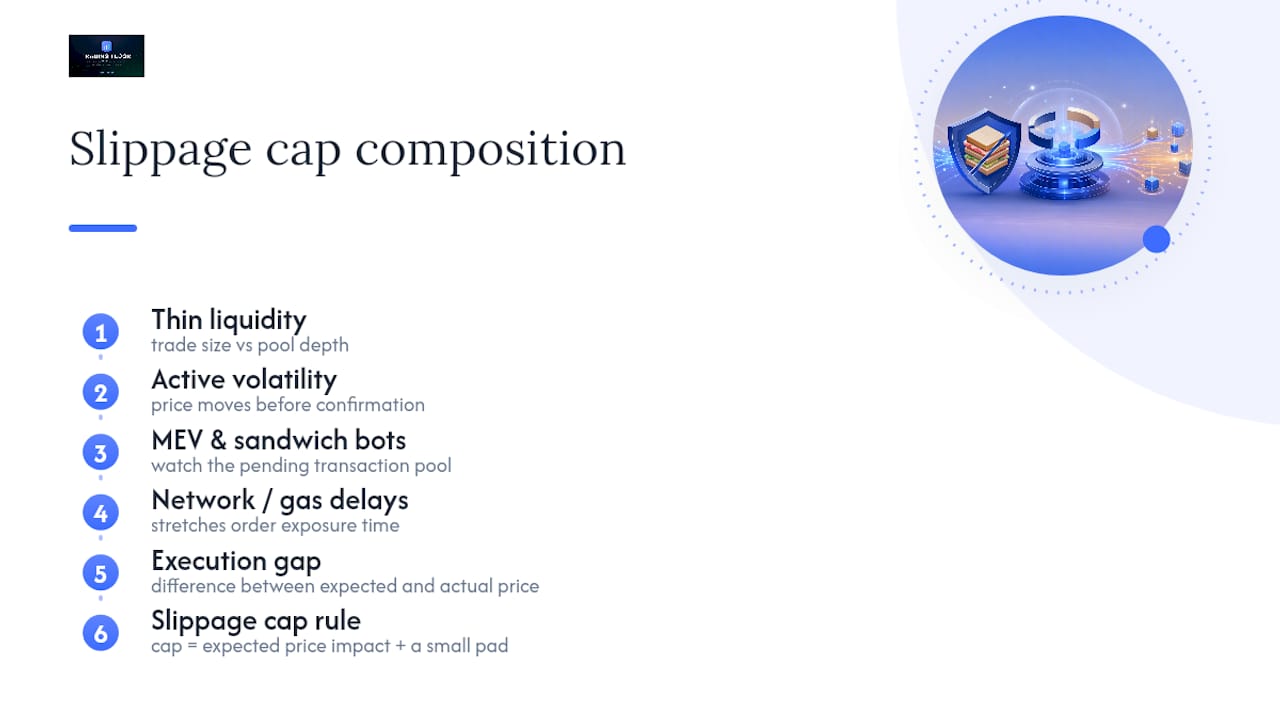
A slippage tolerance, or slippage cap, is the maximum gap you’ll accept between the price you expected and the price you actually get. Cross that line and most decentralized exchanges revert the transaction rather than execute it at a worse rate than you approved. That’s the mechanism, and it’s worth separating from a related but different number: price impact.
Price impact is what your own order does to the price, driven by trade size relative to pool depth. Slippage is what happens because of everything else moving in the seconds between quote and confirmation, other traders, arbitrage bots, and price feeds catching up. Your slippage tolerance setting has to cover both.
Four forces drive that gap wider: thin liquidity, active volatility, MEV and sandwich bots watching the pending transaction pool, and network or gas delays that stretch out how long your order sits exposed. The rule of thumb that ties it together: slippage cap = expected price impact + a small pad. The pad exists to absorb normal noise, not to bail you out of a bad trade size. If you find yourself padding heavily just to get fills, the real problem is usually order size against a shallow pool, not the cap itself.
What Slippage Percentage Should You Actually Use?
There’s no universal number, but there is a defensible starting range for each situation, and deviating from it should be a deliberate choice, not an accident.
| Scenario | Typical cap | Why |
|---|---|---|
| Stablecoin to stablecoin | a small fraction of a percent | Deep pools, tight peg, minimal price impact |
| Major pairs (ETH, BTC, SOL) | low single-digit percentages | High liquidity but real volatility exposure |
| Mid-cap tokens | low to moderate single-digit percentages | Shallower pools, bigger price impact per dollar traded |
| Volatile or newly launched tokens | moderate single-digit percentages | Thin liquidity, active bot pressure, price discovery still happening |
These illustrative bands hold up across most decentralized exchanges, though bonding curve launches and brand-new pools sometimes need caps north of 5% just to get filled at all.
Move up in small steps, not big jumps. Refresh your quote after each increase rather than resubmitting a stale one, since the market has moved in the time you spent adjusting the slider. Jumping straight to a wide cap because a smaller one failed once is how traders eat an avoidable sandwich attack.
One trap catches even careful traders: token taxes. Some tokens charge a transfer fee baked into the contract, and if that tax is significant, a tight slippage cap will fail every single time, no matter how liquid the pool looks. Check the contract before you trade, not after your third failed attempt.
How Do You Set Slippage Tolerance on an Exchange?
The controls differ slightly between decentralized exchanges and centralized ones, but the logic is consistent everywhere: you’re telling the platform the worst price you’ll accept, and everything downstream flows from that number.
- On a DEX, open the gear or settings icon near the swap box and look for “slippage tolerance” or “max slippage.”
- Enter your target percentage manually, or toggle auto slippage if the platform offers it.
- Check the “minimum received” field before confirming. This is your actual floor, expressed in the output token, not the percentage itself.
- If auto slippage is on, understand what it’s doing. PancakeSwap’s Auto Slippage, for example, weighs gas cost in USD against your output value and typically lands between 0.5% and 5%. It’s convenient, but it doesn’t know your order size relative to the pool, so it can hand you a cap wider than you actually need.
- On a centralized exchange, find the “max slippage” or “max deviation” field in the order form for market orders. Many of these execute under immediate-or-cancel rules, meaning you can get a partial fill or an outright cancellation if price moves past your cap before the full order clears.
- Before you sign anything, glance at three numbers: displayed price impact, gas estimate, and whether auto slippage is toggled on or off.
Skipping that last step is how traders get surprised by a fill they never would have approved manually.
Order Slicing, Limit Orders, and MEV: The Advanced Toolkit
A wider cap isn’t a strategy, it’s a concession. Traders who actually want to reduce realized slippage lean on execution technique instead of just tolerating more risk.
- Slice large orders into smaller child orders. Cutting a big trade into several smaller ones reduces the price impact each piece creates, which is a standard professional technique for keeping total execution cost down.
- Use limit orders when price certainty matters more than speed. A limit order guarantees your price or better, but it might not fill at all if the market moves away. A market order with a slippage cap guarantees a fill within your range, but not a specific price. Know which trade-off you’re making before you click.
- Watch your cap width as an MEV signal. A slippage tolerance set unnecessarily wide is exactly what a sandwich bot looks for. It buys ahead of your trade, lets your order execute at the worse price your own cap permits, then sells into you.
- Consider MEV-protected routing or atomic execution where it’s available. Bundling your transaction reduces the window where a bot can see and act on it before your trade lands.
Pro Tip: Set your cap for the trade you’re actually making, not the trade you might make next. Widening “just in case” is the single most common way traders volunteer extra profit to a bot.
Your Pre-Trade Slippage Checklist
Run this before every swap or market order, especially anything above a routine size:
- Check pool depth and calculate your order size as a percentage of it. Anything above a couple percent of the pool needs a wider cap or a smaller order.
- Compare the displayed price impact against your chosen cap. If price impact alone eats most of your tolerance, you have no pad left for normal noise.
- Decide whether to split the order or switch to a limit order instead of just raising the cap.
- Confirm auto-slippage settings, gas cost, and whether the token carries a transfer tax that eats into your tolerance before the trade even executes.
- For multi-account or batch trades, plan your cap around the worst-case wallet in the run, not the first one, and monitor fills as the batch progresses.
What Prop Traders Get Wrong About Slippage Caps
Most retail guidance treats slippage cap settings as a one-time slider you set and forget. Multi-account operators know better, because a cap that works fine on account one can wreck accounts four through eight in the same batch. Prices move while your run executes, so the last wallet in the sequence is always facing worse conditions than the first.

That’s why experienced batch traders design the cap around the last wallet, not the average one, and split large runs into smaller batches with fresh quotes between them rather than one wide cap covering the whole sequence. Per-account limits and real-time fill notifications matter here more than the cap percentage itself, because the real risk in multi-account trading isn’t one bad fill. It’s a cascading failure across accounts that nobody catches until it’s too late.
Automated sync tools that enforce slippage controls per account, instead of one global setting applied blindly everywhere, close that gap. Manual oversight across six or eight accounts during a fast market is where good traders lose money on execution, not strategy.
— KennyTrades
Managing Slippage Caps Across Multiple Trading Accounts
Setting a smart slippage cap on one account is straightforward. Keeping that discipline consistent across five funded accounts during a fast move is where most traders lose control, not because their strategy failed, but because nobody was watching account four while account two got filled.
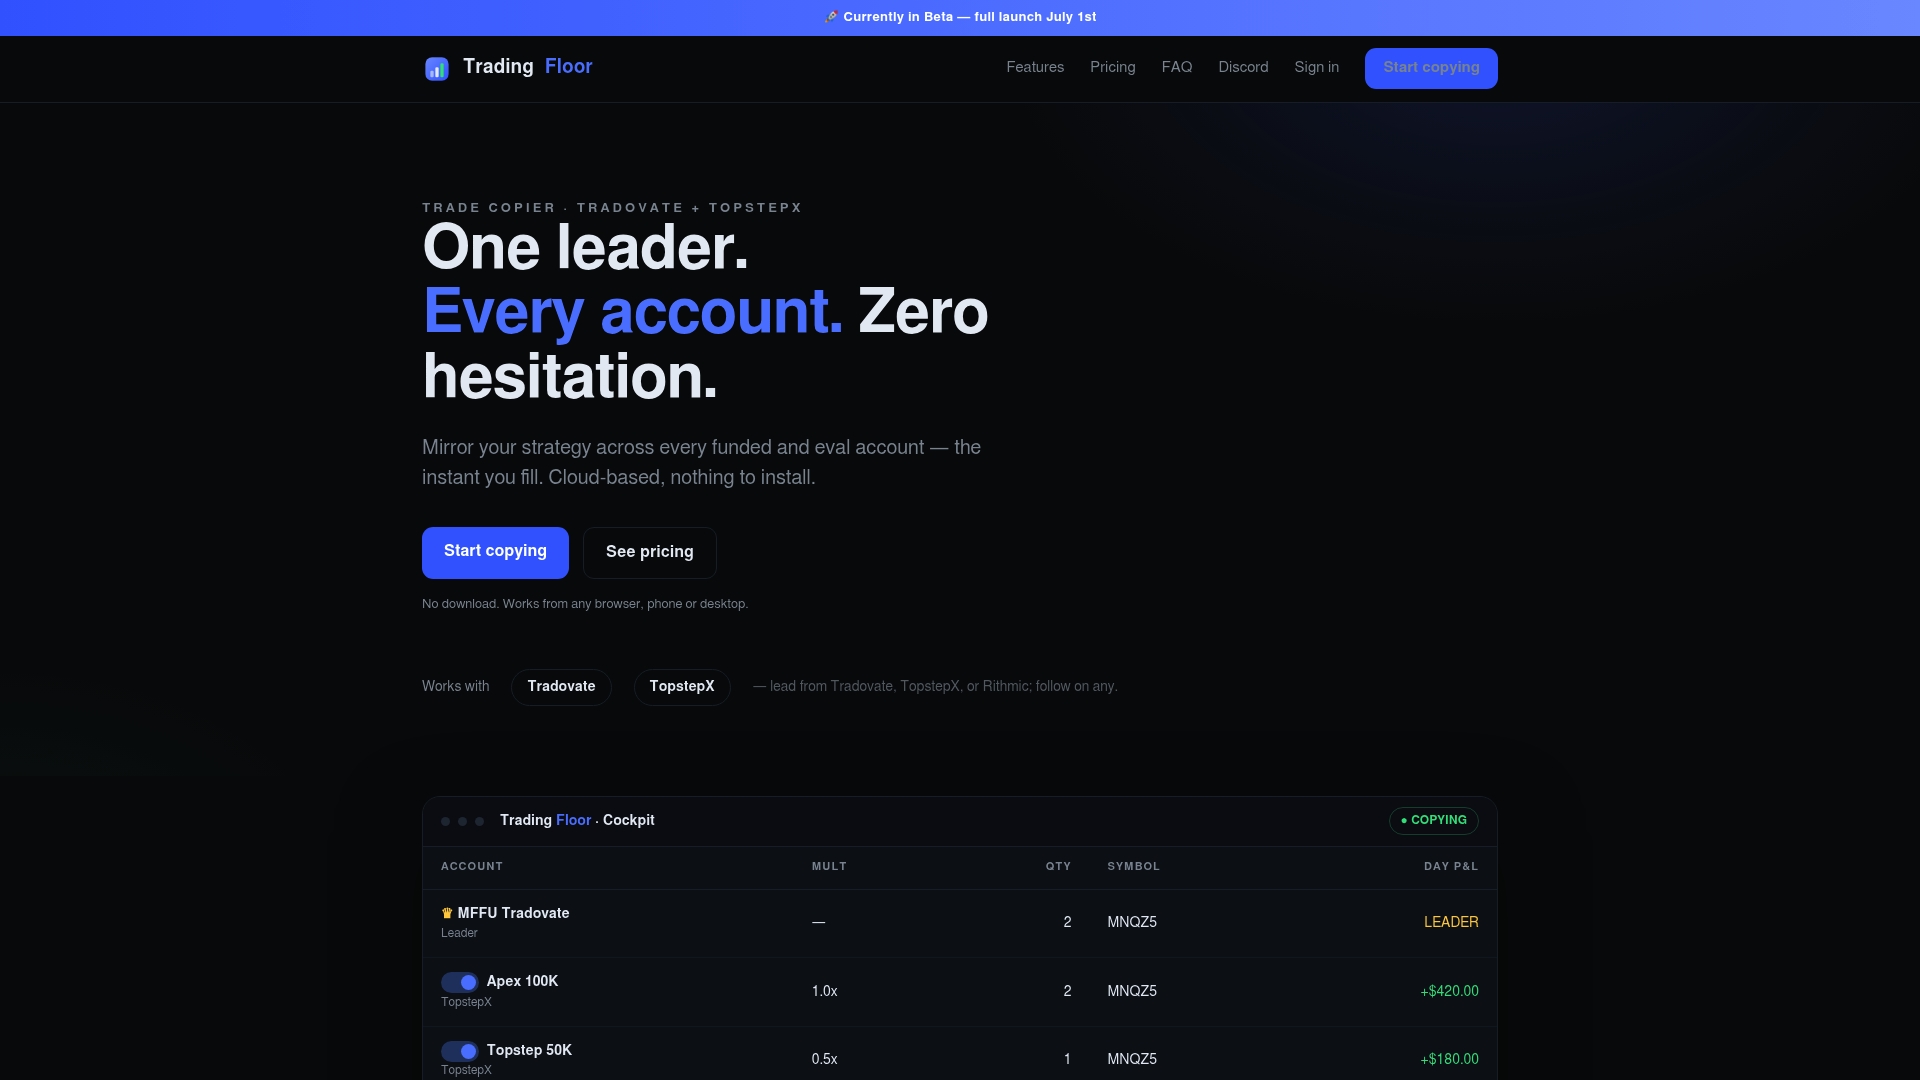
A trade copier was built for exactly that gap. It mirrors your net position across every funded and evaluation account in real time, with per-account slippage caps, trade limits, and push notifications so a bad fill on one account doesn’t cascade into the rest of your batch unnoticed. It works across brokers including Tradovate and TopstepX, runs in the cloud with no installation, and gives each account its own risk controls instead of one blunt setting applied everywhere. If you’re running multiple accounts and tired of manually checking each one after every trade, the Lucid Trading Trade Copier mirrors one trade across every account automatically, with the per-account controls this article just walked through built in. Start a trial and see how it handles your next batch.
Sources
For deeper technical detail, Orca’s slippage documentation covers tolerance mechanics directly. j.tools’ breakdown walks through the price impact plus pad formula in more depth, and PancakeSwap’s Auto Slippage docs explain the heuristic behind automated settings. For execution technique across accounts, see Tradingfloor’s guide on trading execution best practices.
- Orca docs — slippage tolerance and example settings
- J
- PancakeSwap docs — Auto Slippage behavior and formula
- Gate glossary — slippage control strategies
Recommended
- Cross-Account Trade Management: A 2026 Trader’s Guide
- Prop Traders: Multi Account Trade Alerts with JSON & Risk Controls
- Multi-Account Trade Execution Explained for Prop Traders
- Multi-Platform Trading Best Practices for Prop Traders
Trading Floor mirrors every trade across your Tradovate, TopstepX & Rithmic accounts in real time, from $25/mo.
Start copying →